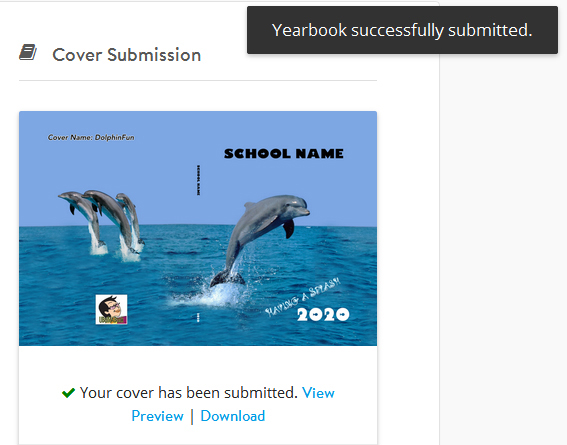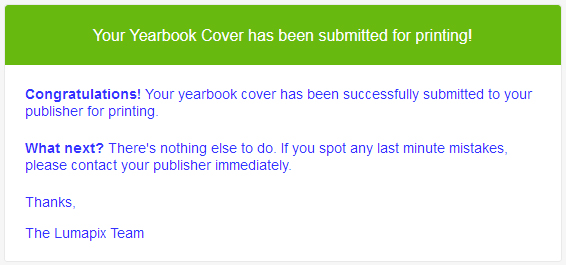


Open your book in Yearbook Fusion and navigate to the Admin tab. From the Admin tab you will see two Create Proof buttons, When you are ready to upload your cover click on the Create Proof button under Cover Submission. Yearbook Fusion will begin processing your cover file which should take a few minutes depending on your internet speed. Once the cover is generated you will be able to view it. You will also get an email notification confirming we have received your cover. You will be sent either a cover eProof, or it will be part of your printed proof(if applicable). You will see a conformation window asking you to verify if your cover is ready to submit. Once the cover is submitted you will receive a conformation email. 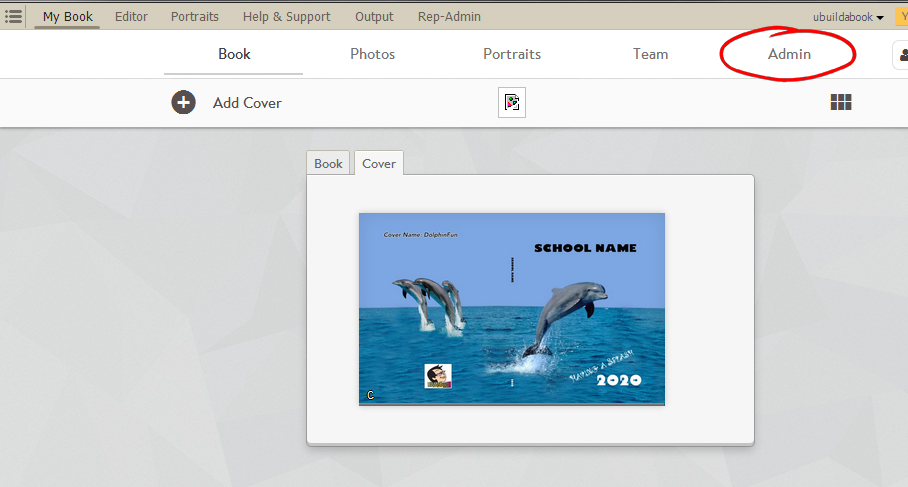
the left one for the content and the right one for the cover.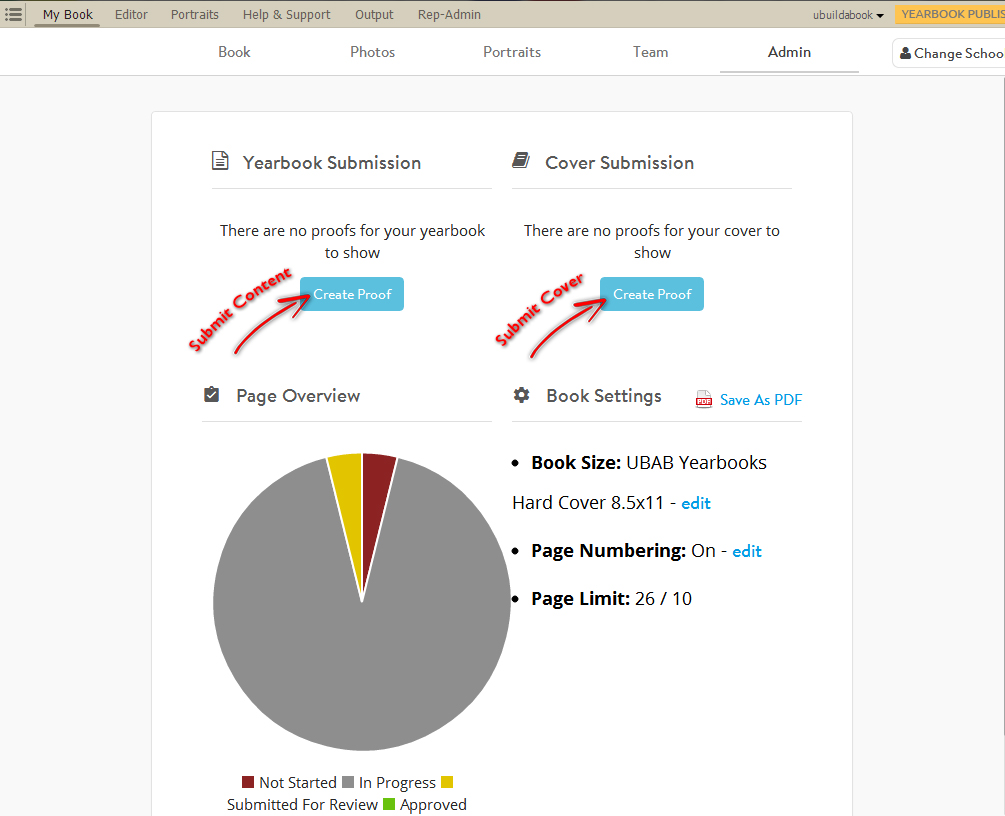
You will be prompted the first time you submit to let you know you are submitting your cover.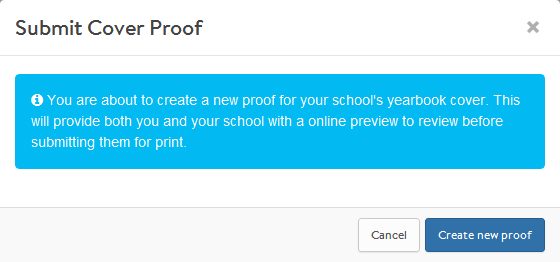
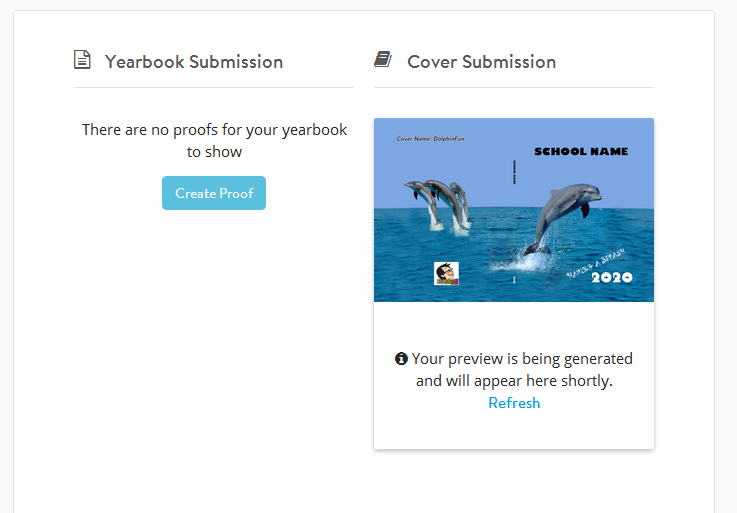
Do not click on Reject Proof or Submit Cover until you have received a proof.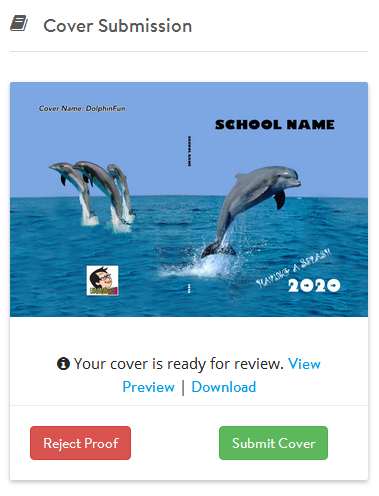
This is not a Proof, it just allows you to see what you sent us.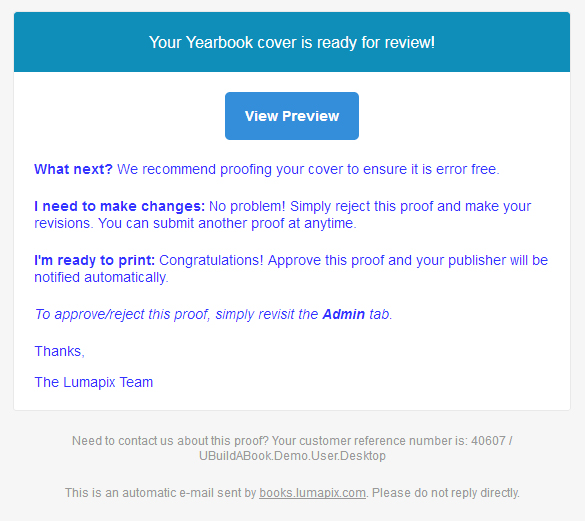
Once your receive the proof you can review it for errors.
If you need to make changes you will click on the red Reject Proof button on on the Admin tab.
If your cover is approved for printing you will click on the green Submit Cover button.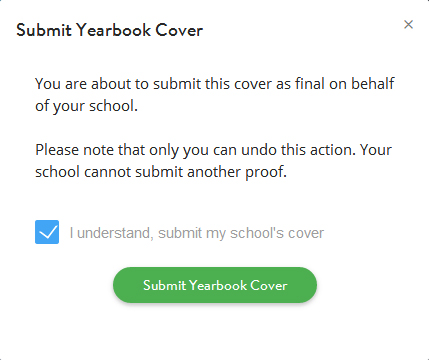
When you click on the check box and the green button your cover will be finalized.